Your first import
Let's load a scan and look at it in 3D. You'll need a point cloud
file — any .las, .laz, .ply, .pcd, .xyz, .txt, .csv,
.pts, .asc, or .ascii will do. A small scan from a single tripod position
is the easiest way to see how the app works before moving on to large
multi-position datasets.
Open the app
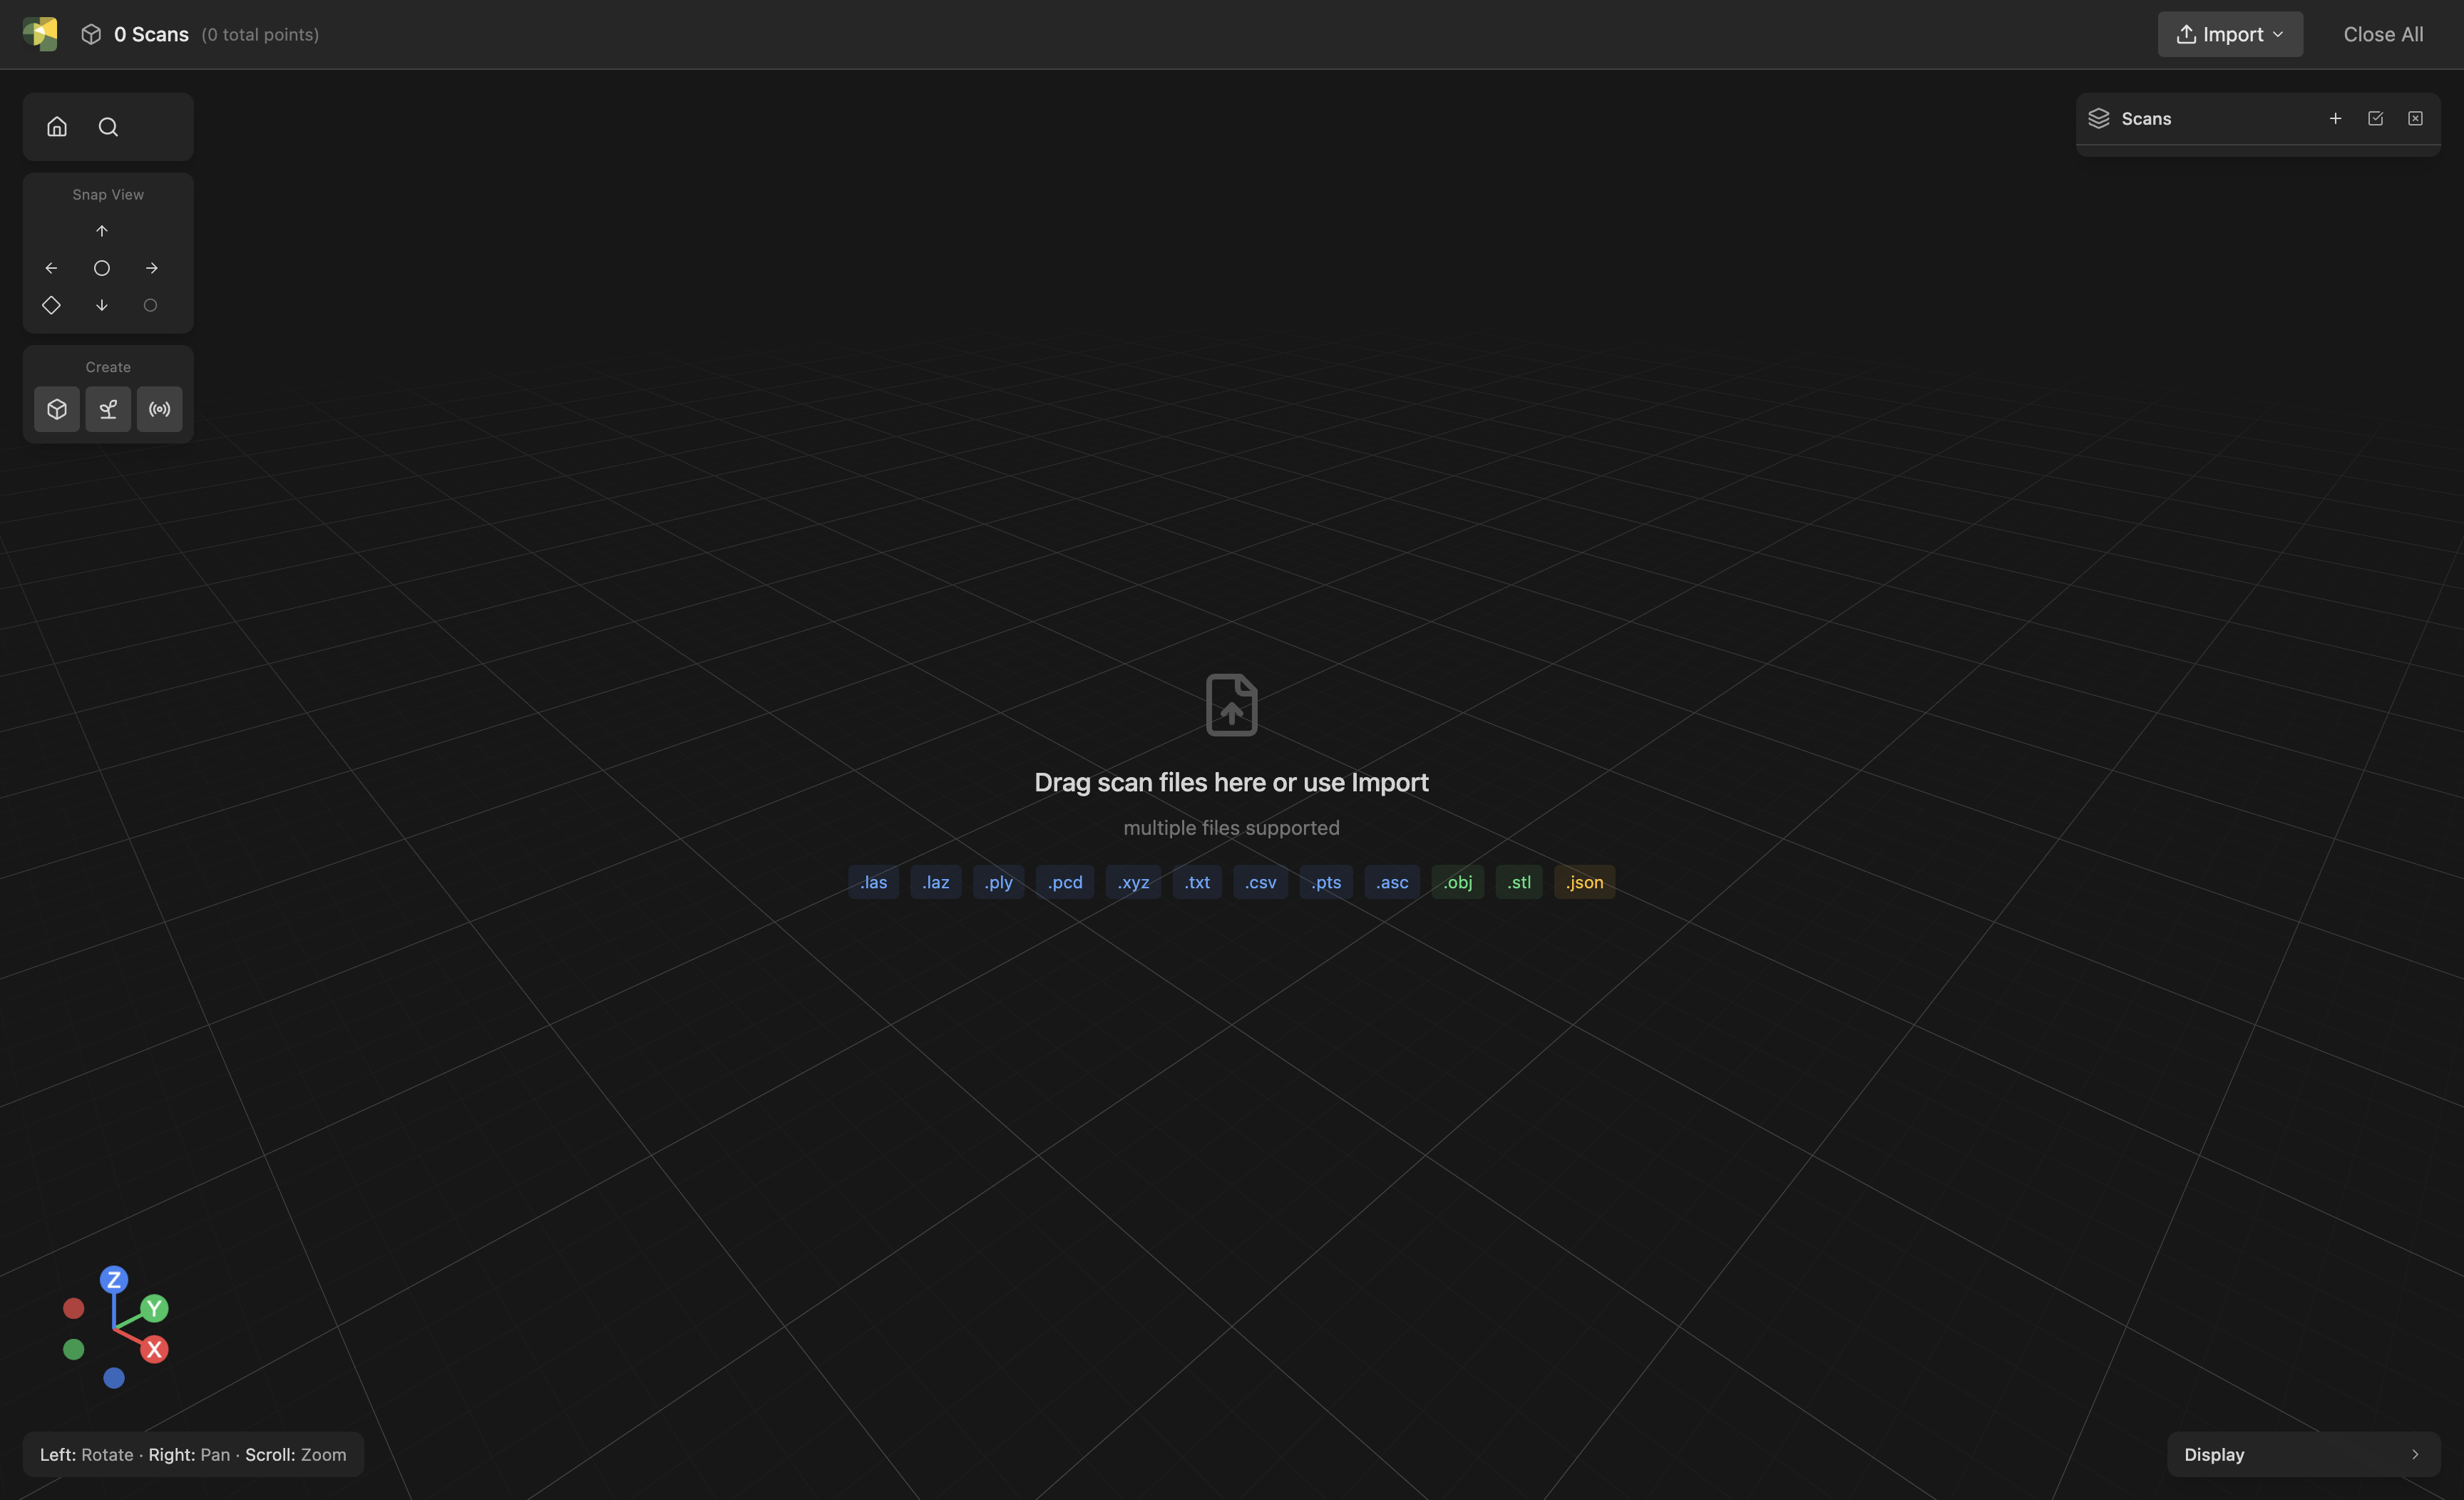
When you launch Phytograph you land directly in the 3D viewer. With
nothing loaded yet, the empty viewport shows a hint with the file
extensions you can drop here: .las, .laz, .ply, .pcd, .xyz,
.txt, .csv, .pts, .asc, .ascii, .obj, .stl, .json.
Import the file
You have four ways to import:
Drag the file from your file manager anywhere onto the Phytograph window. Phytograph auto-detects the format.
Open File → Import and pick Auto-detect to let Phytograph
choose the format, or force a specific one (Point Cloud, Mesh,
Skeleton) when auto-detection picks the wrong type for an
ambiguous format like .ply.
Press ⌘+K (macOS) or Ctrl+K (Windows) and type "import".
From your file manager, right-click the file and choose Open With → Phytograph (macOS / Windows / Linux). Phytograph launches if needed and auto-imports the file; if it's already open, the file loads into the current scene. See Import & export for details.
On Linux, an AppImage only appears in the Open With list once it is executable and has been launched at least once — see Install on Linux.
A progress indicator appears while the file is parsed, advancing through the stages of the import. ASCII files in the multi-million-point range typically import in a few seconds; LAS/LAZ binary formats are faster still. If an import is taking longer than you want, Cancel stops it for real — see Import & export.
See it in 3D
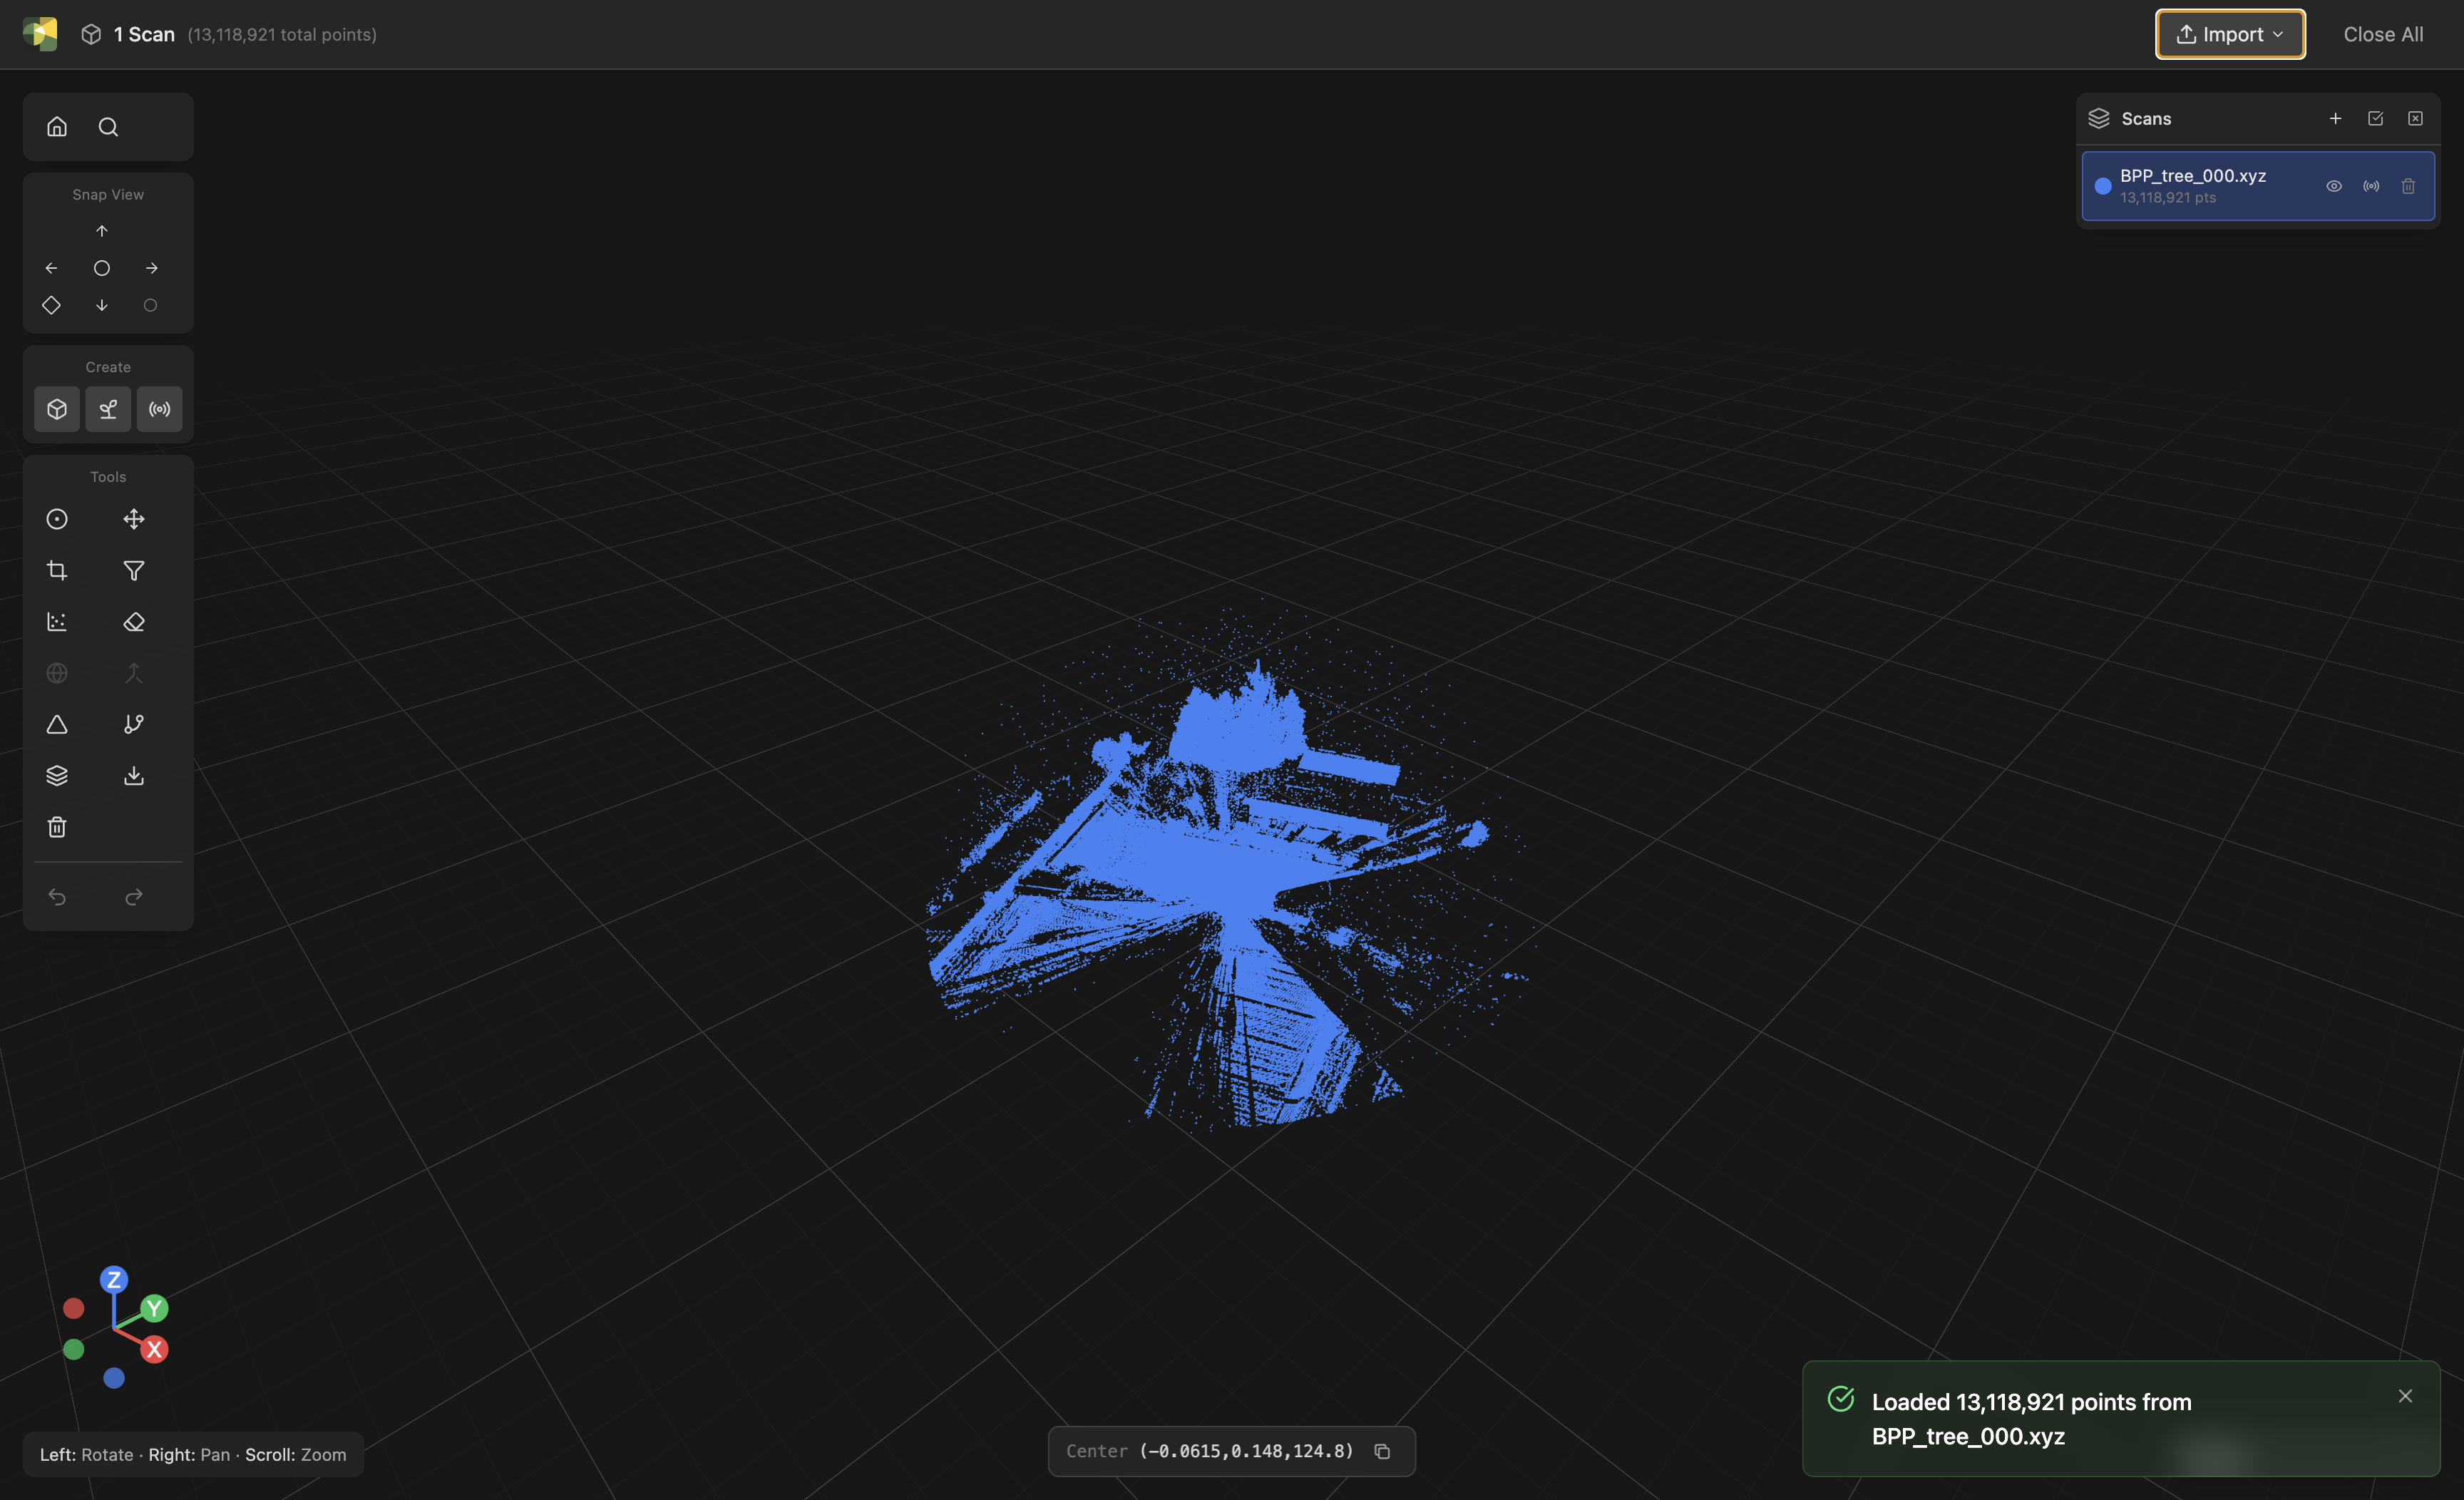
Phytograph centers the camera on your data and the import hint disappears.
Try the basic camera controls:
- Rotate: left-click drag on the 3D canvas
- Pan: right-click drag (or middle-click drag)
- Zoom: mouse wheel
- Zoom to selection: select an object and press F (or click the Zoom to Selection button) to fit it in view without changing the angle
- Reset / fit all: click the Reset View button in the top toolbar to frame everything from the default isometric angle
On the right, the Scans panel lists everything currently loaded (meshes and skeletons get their own panels below it once present). For each scan row you have:
- a visibility toggle
- a color dot showing how it's drawn (more on this in Color modes)
- the point count
- a remove button
A scan can also carry scan parameters like the scanner origin — you'll see additional controls on the row when those are attached.
The cloud is colored by height (Z-axis) by default — taller parts of the plant in yellow-green, lower parts in deep blue. This is one of seven color modes you can switch between.
What's next
Now that you have a scan loaded, take the Tour of the interface to see what every panel and toolbar button does. Or jump straight to a workflow:
- Clean a point cloud — crop out the ground, remove outliers
- Triangulate a mesh — reconstruct surfaces
- Extract a skeleton — get branching topology